Quick Start
This guide walks you through launching XPressRT and running your first test in under five minutes.
Prerequisites
Before you begin, ensure the following are installed:
- Docker with Docker Compose
1. Start the Application
cd <XPress-release-folder>
powershell -ExecutionPolicy Bypass -File docker-setup.ps1
cd <XPress-release-folder>
docker compose up -d
Wait for all containers to start (typically 30–60 seconds), then open your browser and navigate to:
http://127.0.0.1:8081/
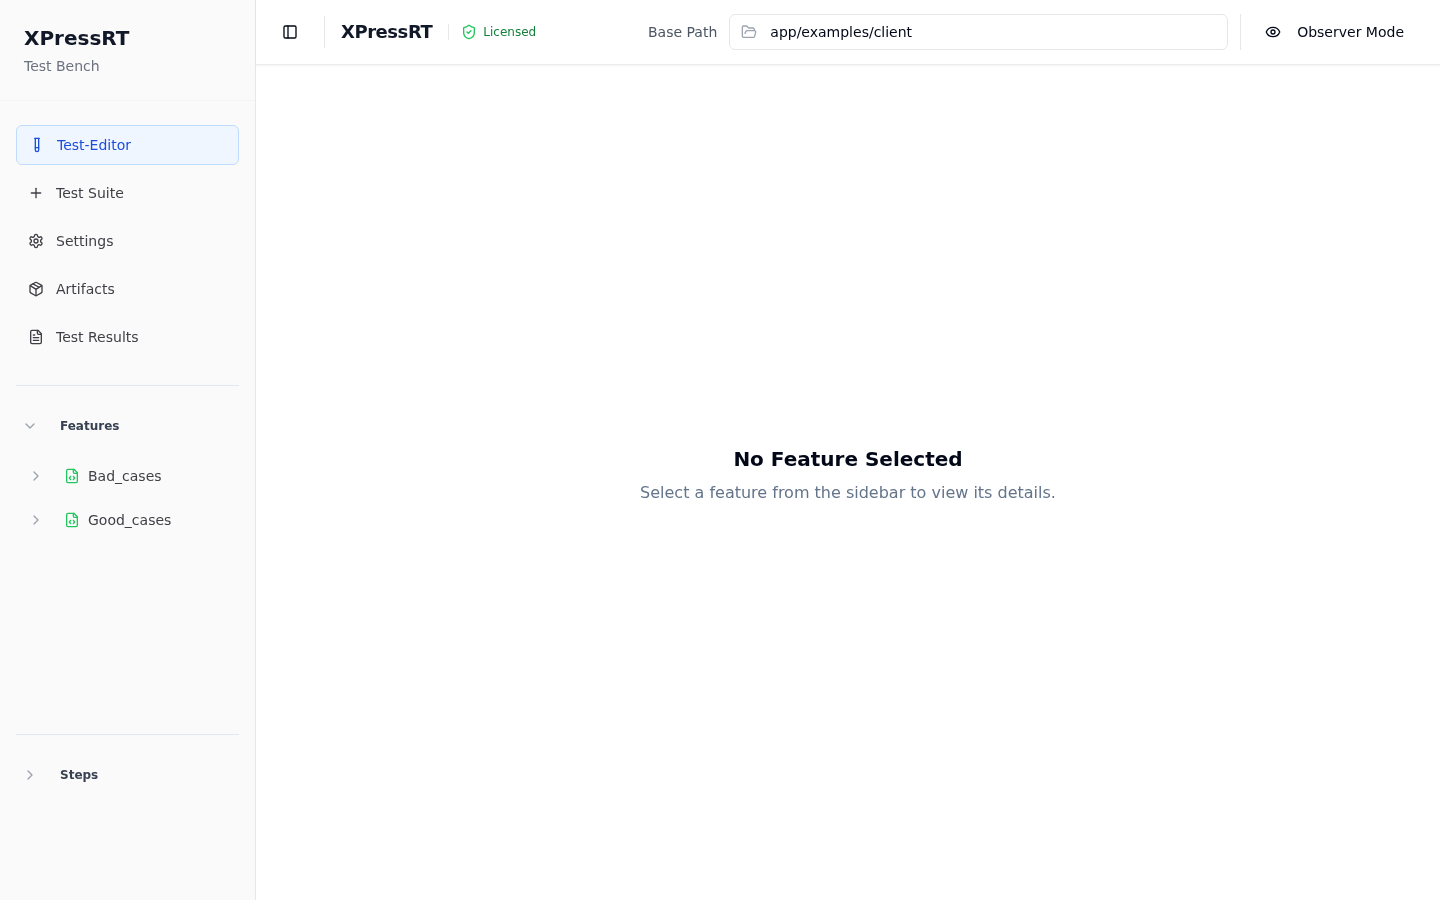
2. Understand the Interface
When the application opens you will see:
| Area | Description |
|---|---|
| Left sidebar | Navigation menu — Test-Editor, Test Suite, Settings, Artifacts, Test Results |
| Features panel | Collapsible list of all feature files and their scenarios |
| Steps panel | Library of reusable step definitions |
| Top header | Base Path input, Observer/Edit mode toggle, license status |
| Main canvas | Context-sensitive content area |
3. Observer Mode vs Edit Mode
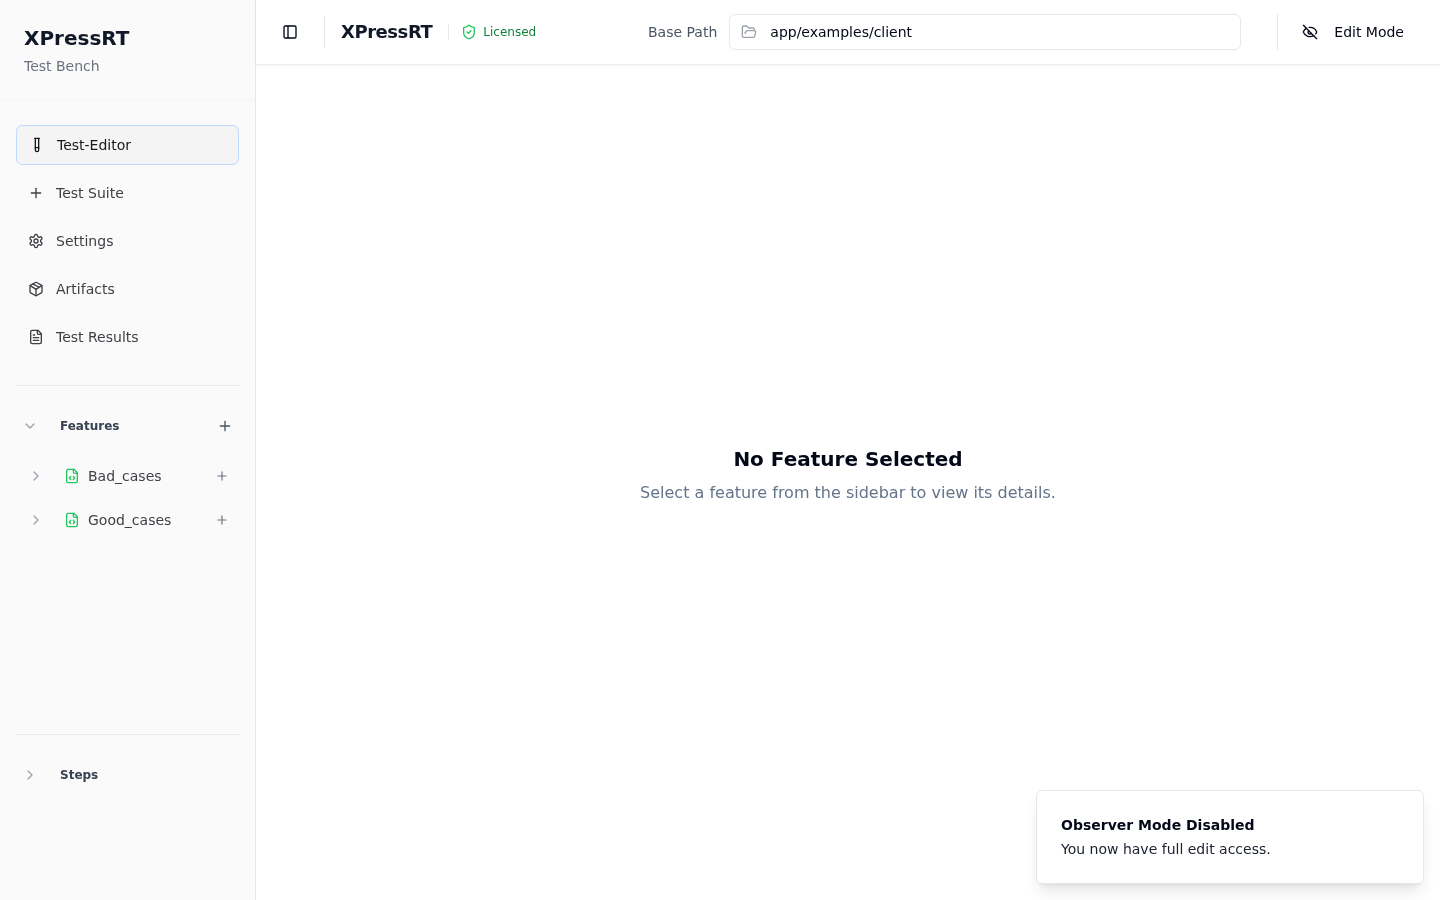
The application opens in Observer Mode by default. In this mode all editing controls are disabled so the UI can be safely shared with observers on a test bench without risk of accidental changes.
To enable editing, click the Observer Mode button in the top-right corner and enter the master password (123 by default).
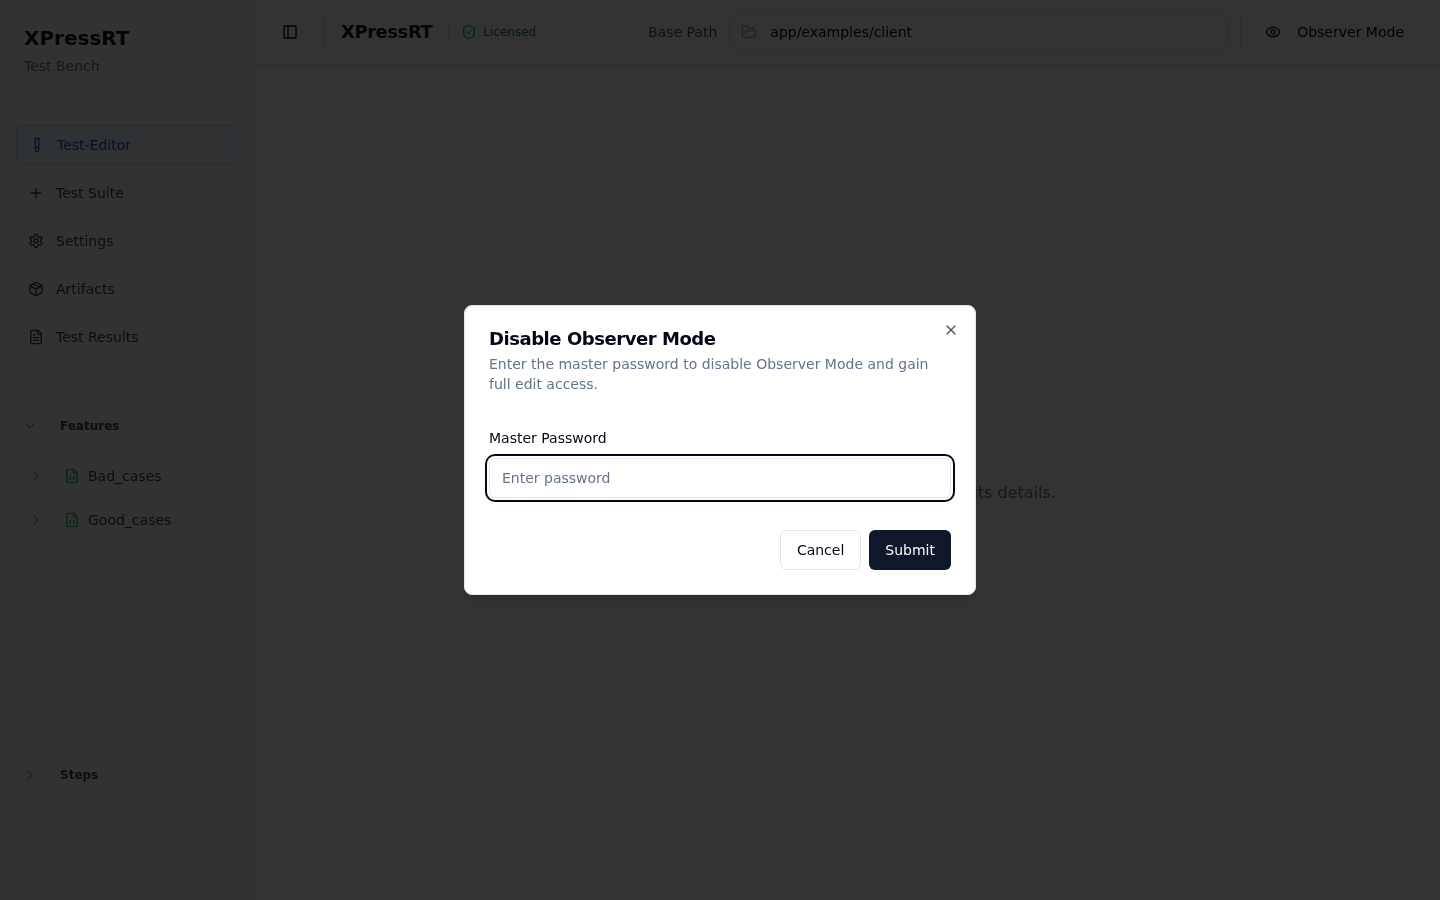
Once unlocked the button label changes to Edit Mode and all editing controls become active.
Tip
The password is configurable in the backend config.json. Contact your administrator to change it.
4. Set the Base Path
The Base Path field in the header tells XPressRT where to find your test project on disk. Click the folder icon next to the field, type the path to your client folder (e.g. app/examples/client), and press Save (the floppy-disk icon).
XPressRT will automatically scan the directory for .feature files and populate the Features list in the sidebar.
5. Browse Features and Scenarios
In the sidebar, expand the Features section. Each entry represents a .feature file. Click the › chevron next to a feature name to reveal its scenarios.
- A plain green icon (🟢) indicates a Scenario — a single-run test case.
- A blue branching icon (🔀) indicates a Scenario Outline — a parameterised test run once per row of example data.
Click any scenario name to open its editor in the main canvas.
6. Run Your First Test
- Select any scenario from the sidebar.
- Switch to Edit Mode (see step 3 above).
- Scroll to the Steps section and click Test Execution.
XPressRT will connect to the XPress server and execute the scenario. A live step-by-step progress view appears showing each step as Pending → Running → Passed / Failed.
7. View Results
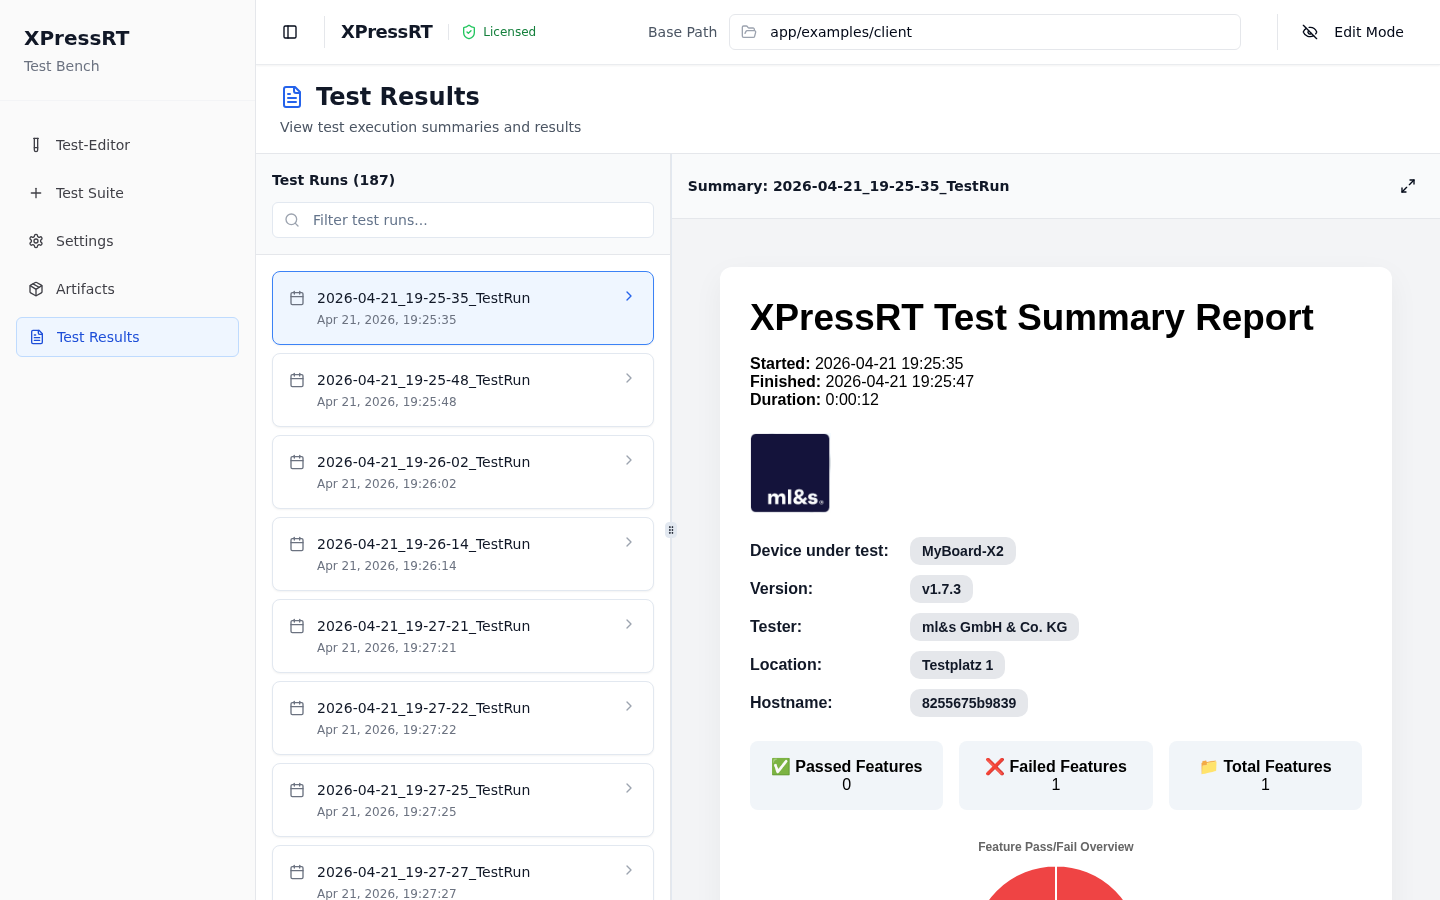
After execution, navigate to Test Results in the left sidebar to browse all previous test runs. Select any run from the list on the left to view the full HTML summary report on the right.
8. Shut Down
docker compose down
docker compose down
Next Steps
| Topic | Guide |
|---|---|
| Creating and editing features and scenarios | Features & Scenarios |
| Configuring step behaviour with action types | Action Types |
| Grouping scenarios into reusable suites | Test Suites |
| Analysing past test runs | Test Results |
| Configuring runtime parameters | Settings |